Click to enlarge - Ristas are garlands of chiles bound together for hanging and drying.

Rehydrating Dried

Red Chiles

Click to enlarge - Bag of dried chiles, your most common find in the supermarket.


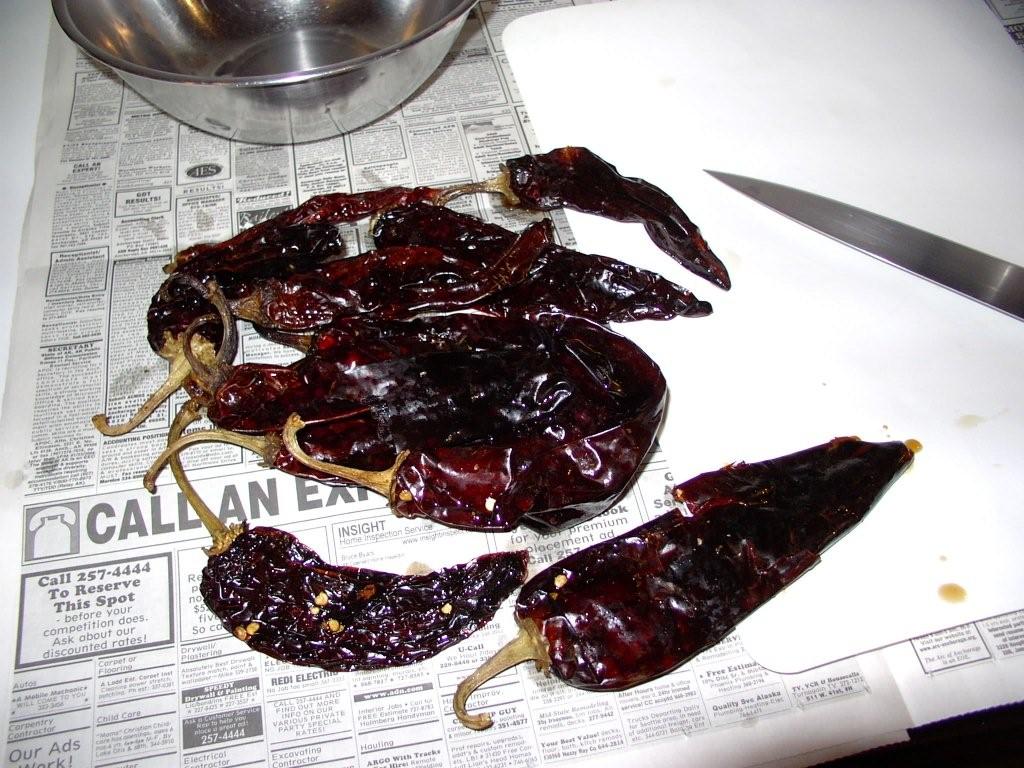
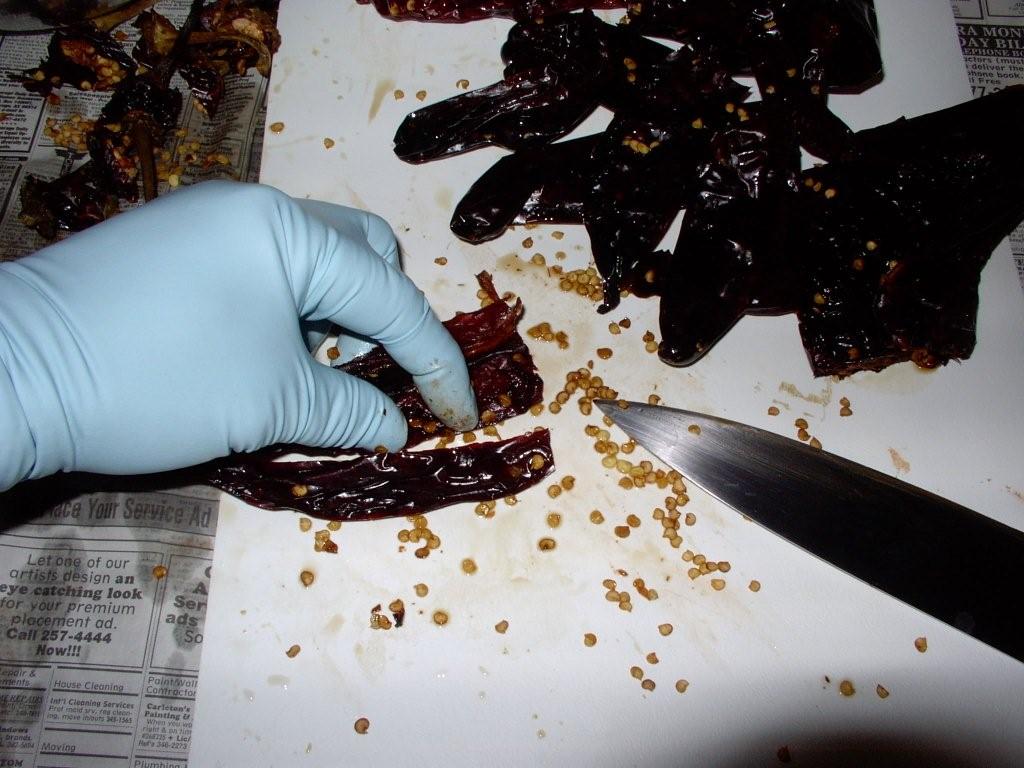
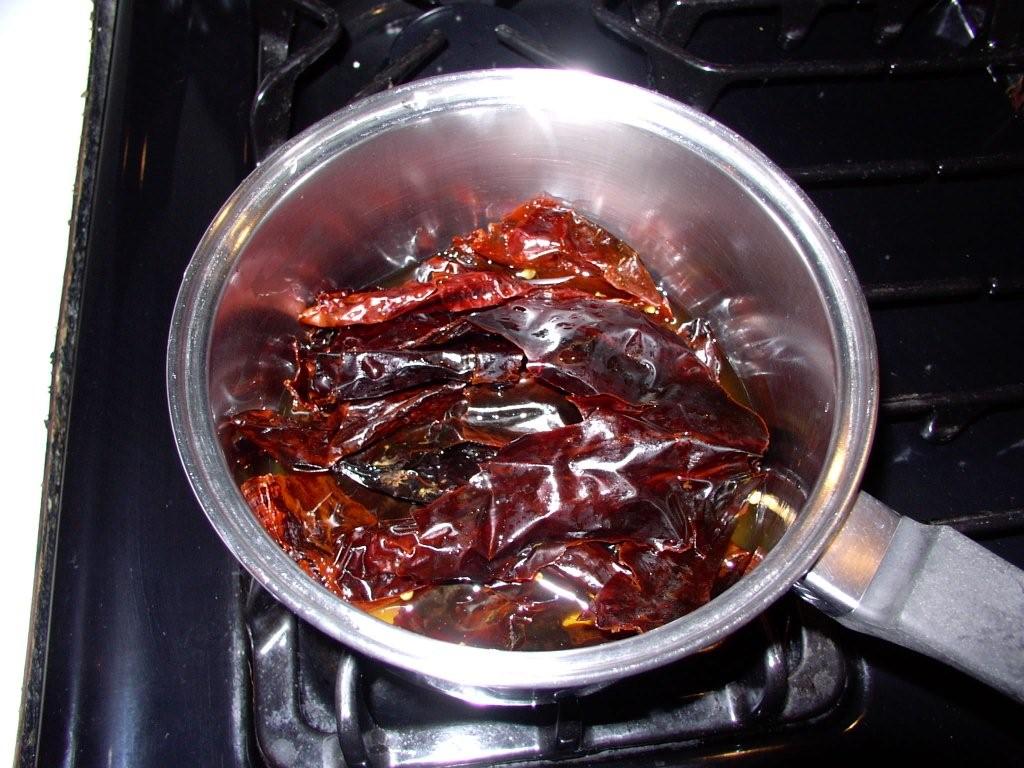
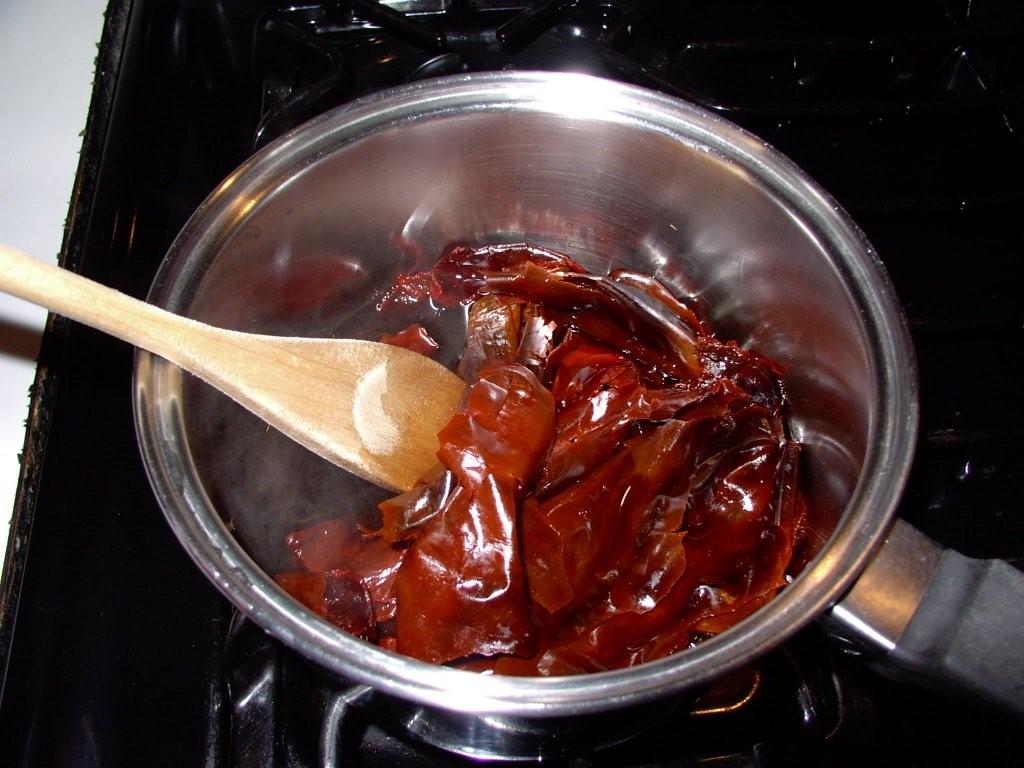
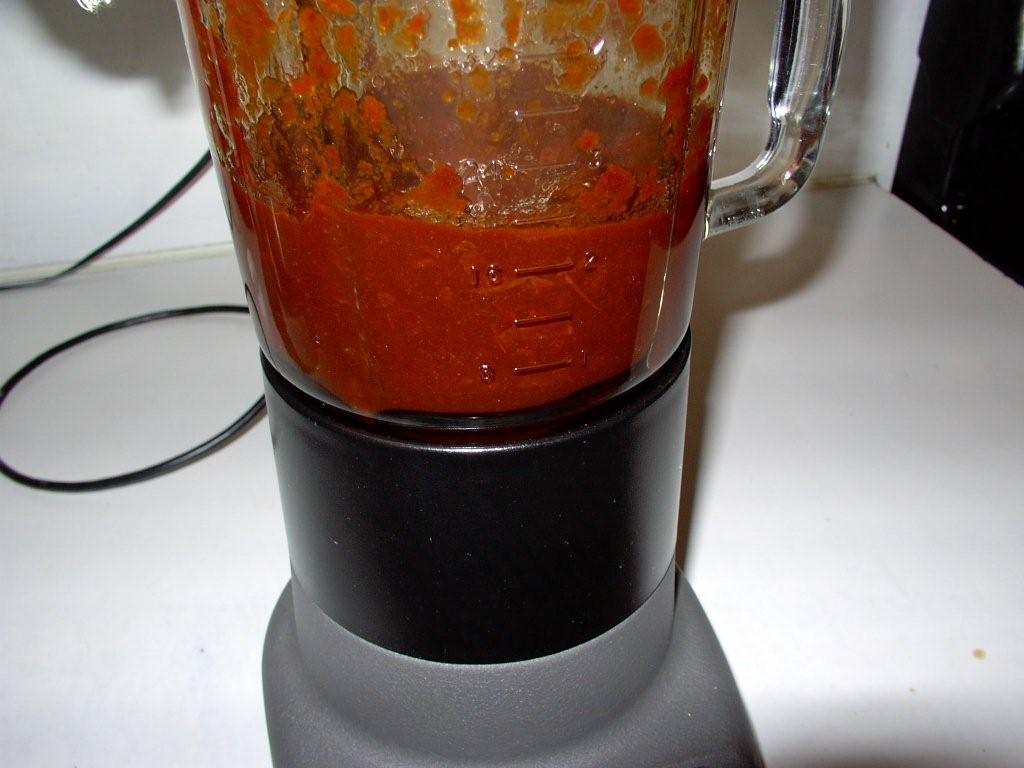
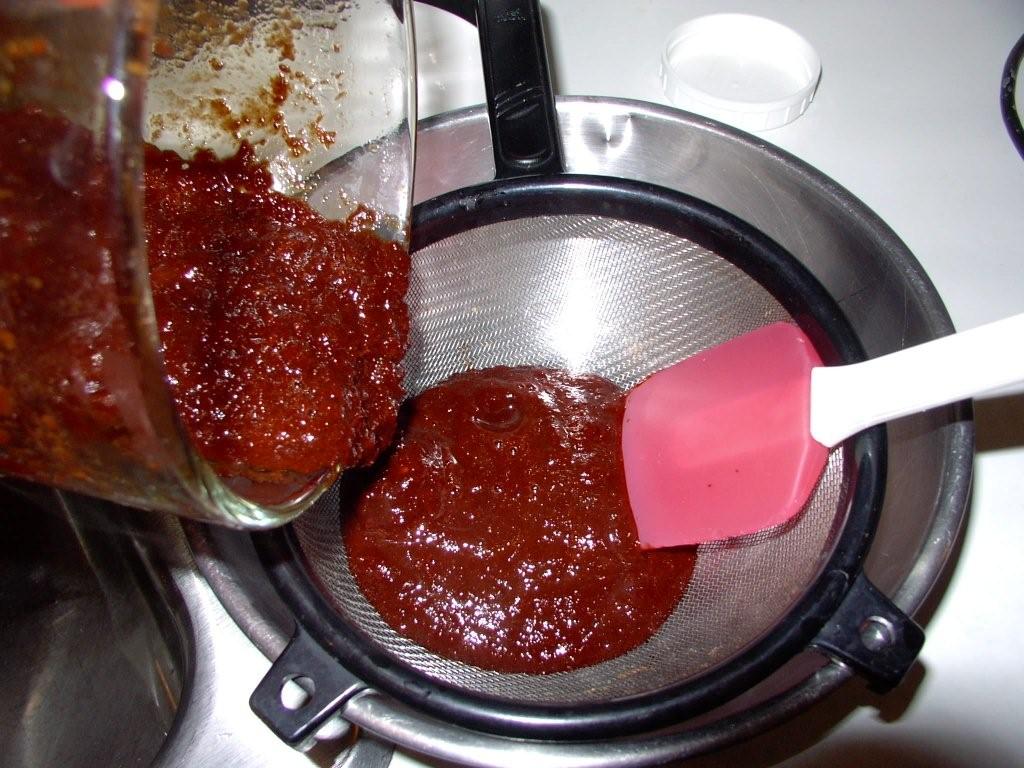
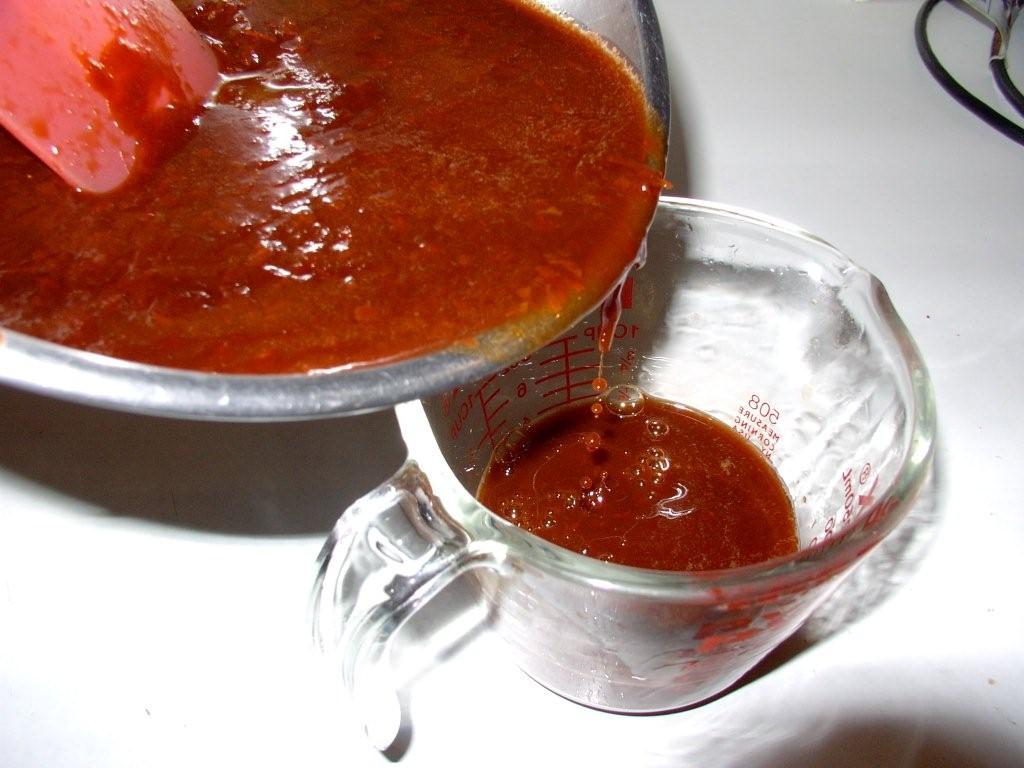
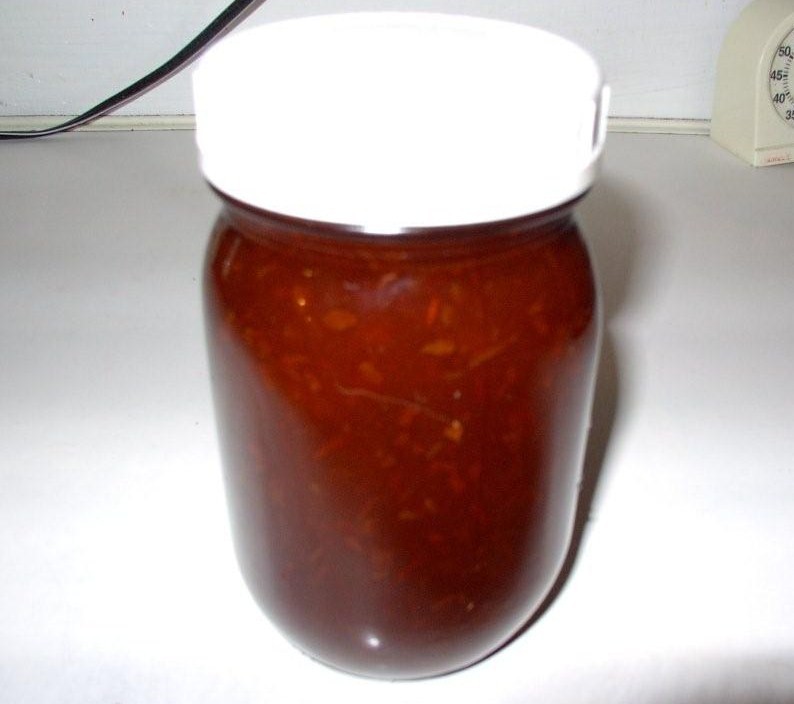
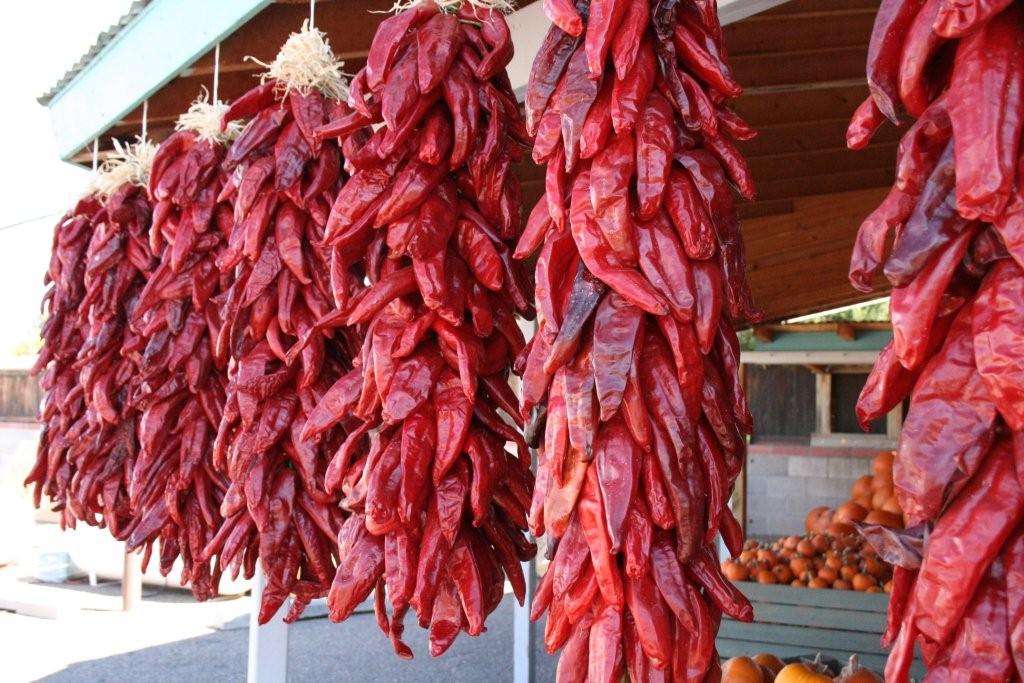
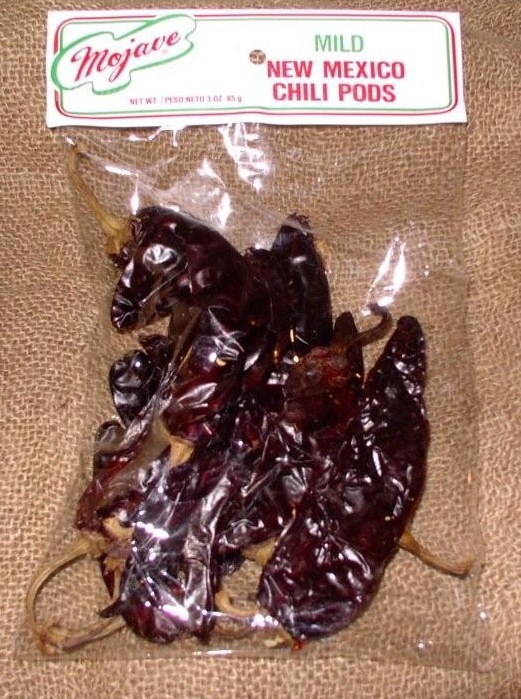
Picked before they are ripe, the Anaheim or New Mexico chiles are the green chiles we see in the supermarket or purchase as roasted green chiles in a can. Allowed to ripen fully, the chiles turn a deep red. The chiles are then dried. Some are dried on the vine and some are bound into garlands called ristas. Most chiles are intended for food use but some of the ristas, intended for decoration, are sprayed with lacquer or shellac. Most often we find the dried red chiles in the cellophane bags at our local supermarket.

The dried red chiles, reconstituted and pureed, are the basis of red chile dishes, chile con carne, as well as red enchilada sauce. After being pureed, the sauce can be used right away or stored for an extended time, properly packaged, in the freezer.

Preparation Time : 1 hour

Life Experience Recipe

Procedures:
  1. As always, when handling chiles, wear rubber gloves and avoid touching the face especially near the eyes. You will need about a dozen dried chiles. Select whole chiles in good condition. Wash under running tepid water. Over an opened newspaper (to catch all the discarded seeds and then roll up and toss away), use a sharp knife and slice the chile open lengthwise. Cut off the stem end and discard. With the fingers, pull the membrane and seeds from the chile. Most of the capsicum is in the membrane. Some of the capsicum is transferred to the seeds. The more seeds and membrane you leave in the chile, the hotter will be the resulting puree.

    Click to enlarge - Work on newspaper for easy clean up. Cut open and cut off stem end.. Click to enlarge - Swipe out seeds and pull membrane from inside the chile. Remember to wear gloves.

  2. Put the chiles in a medium saucepan with 2 cups of water. Bring to a boil over high heat. Reduce heat and slow-simmer for 15 minutes. Remove from heat, cover and let stand for a half hour. Dip your finger in the cooled liquid. You should taste the red chile, appreciate its pungency, but it shouldn’t be bitter. If you taste a bitterness, drain the water and replace with a like amount of fresh water.

    Click to enlarge - Put chiles in a saucepan with water and heat. Click to enlarge - Taste the cooking liquid. If bitter, replace with an equal amount of fresh water.

  3. Pour the cooled chiles and cooking water into a blender. Process at the highest speed available until you have a smooth puree. Strain the puree through a screen sieve or colander to remove any seeds or dried chile skin. Use a spatula to help the pure through the sieve.

    Click to enlarge - Add cooled chiles to blender and puree. Click to enlarge - Strain to remove any skin, seed and stems remaining and make a smooth puree.

  4. You now have red chile puree to make your favorite dish. You can use the puree right away or package for the freezer for later use. Certainly a lot more work, the first time, than opening a can of red chile sauce but the improved flavors of your dish will be worth it.

    Click to enlarge - Wide-mouth Mason jars make good freezer storage containers. Click to enlarge - Measure out the amount of puree you need for your reipe.


Return to Cookbook Contents Page
Latest revision done September 2014
Counter courtesy of WebCounter

Hosted by aplus.net