Click to enlarge - Fresh green chiles.

Roasting and Preparing

Green Chiles


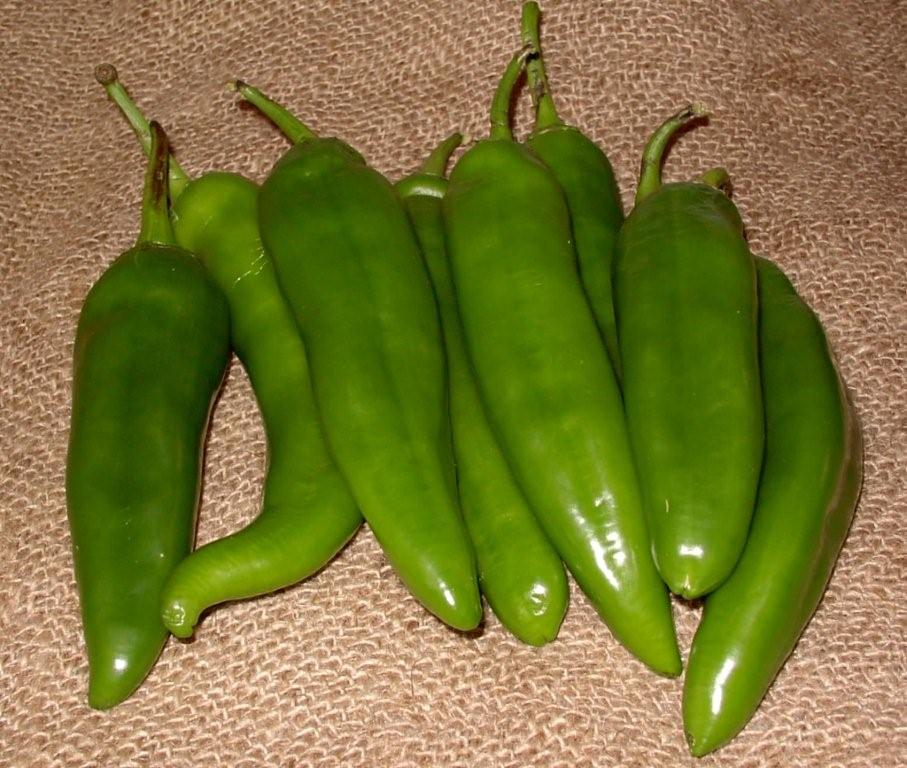
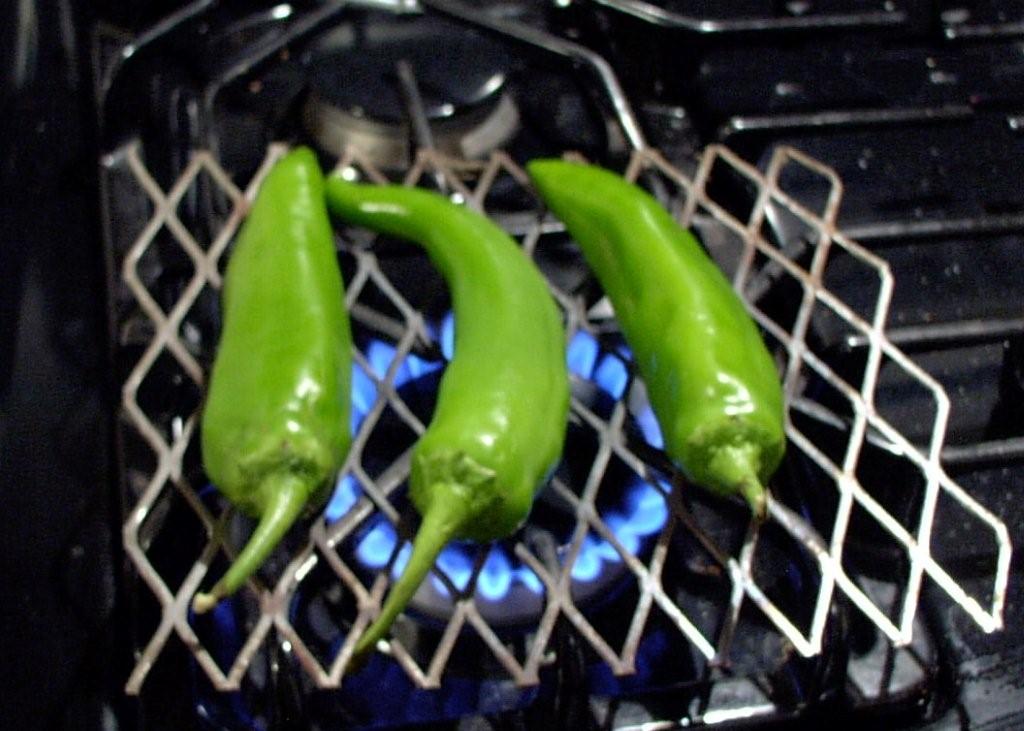
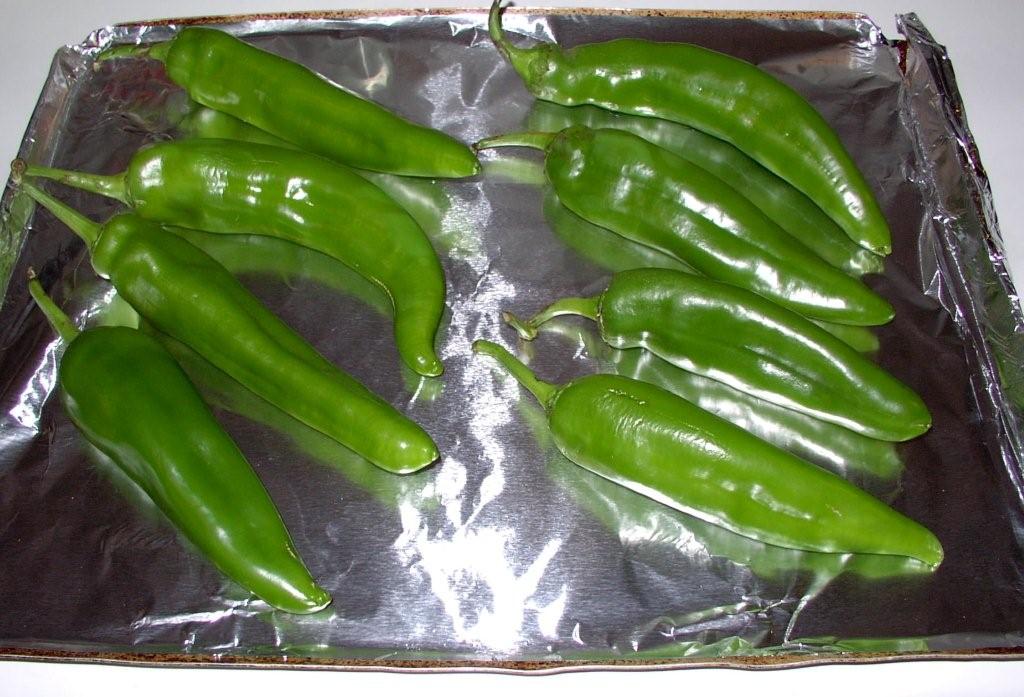
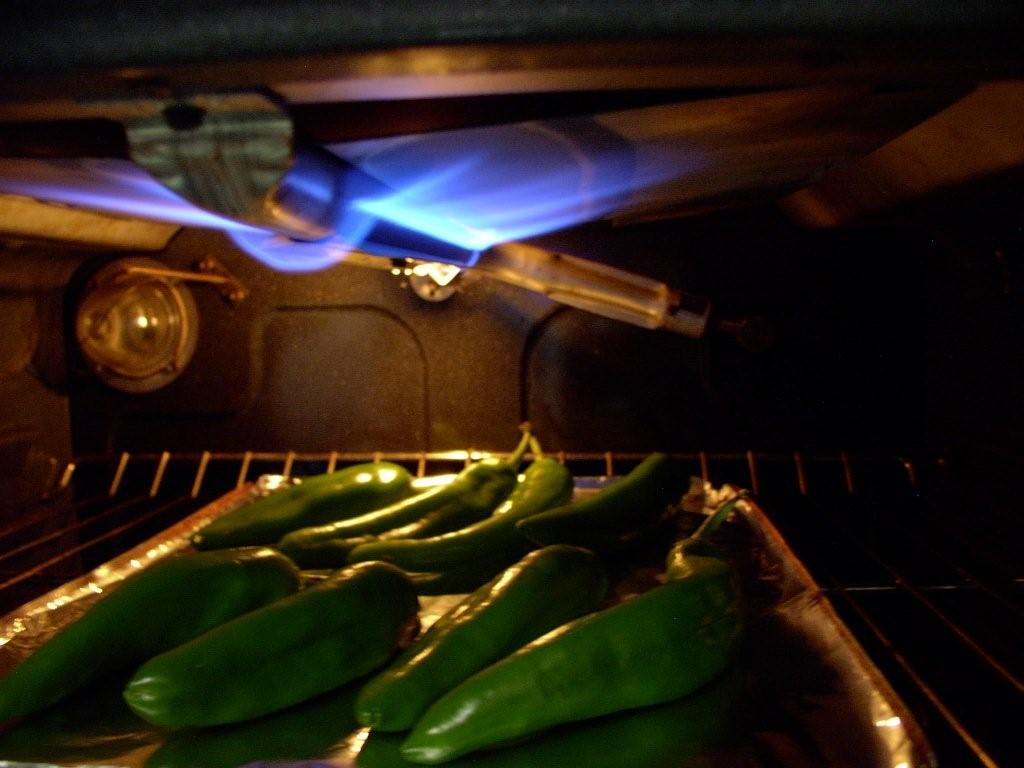
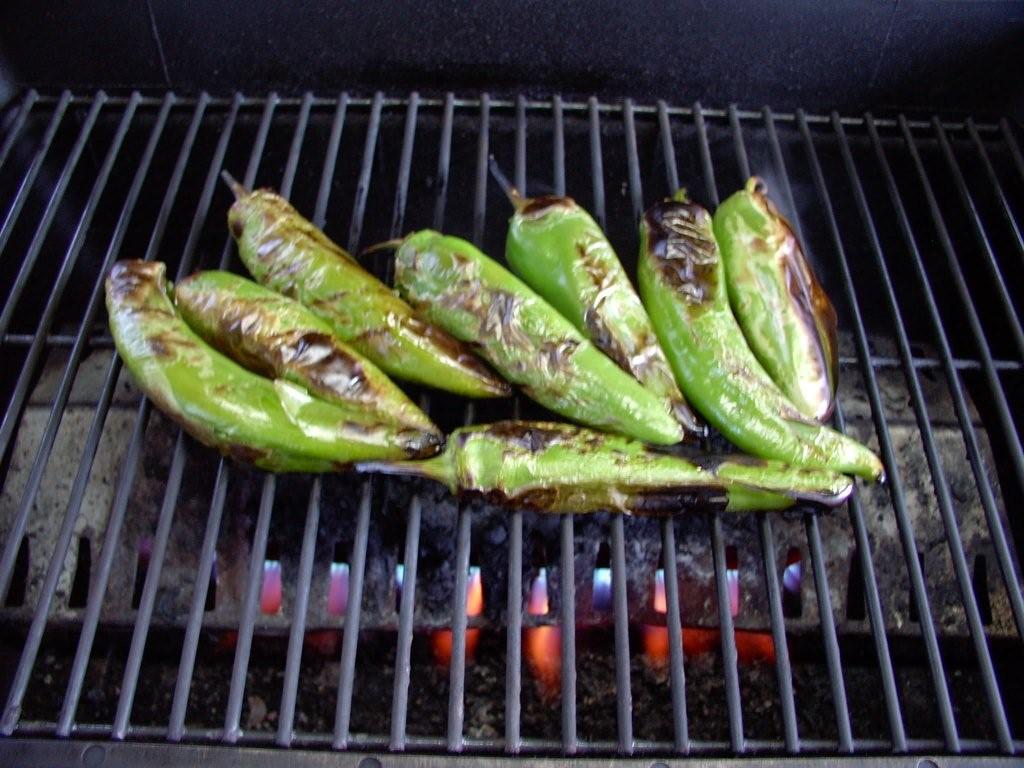
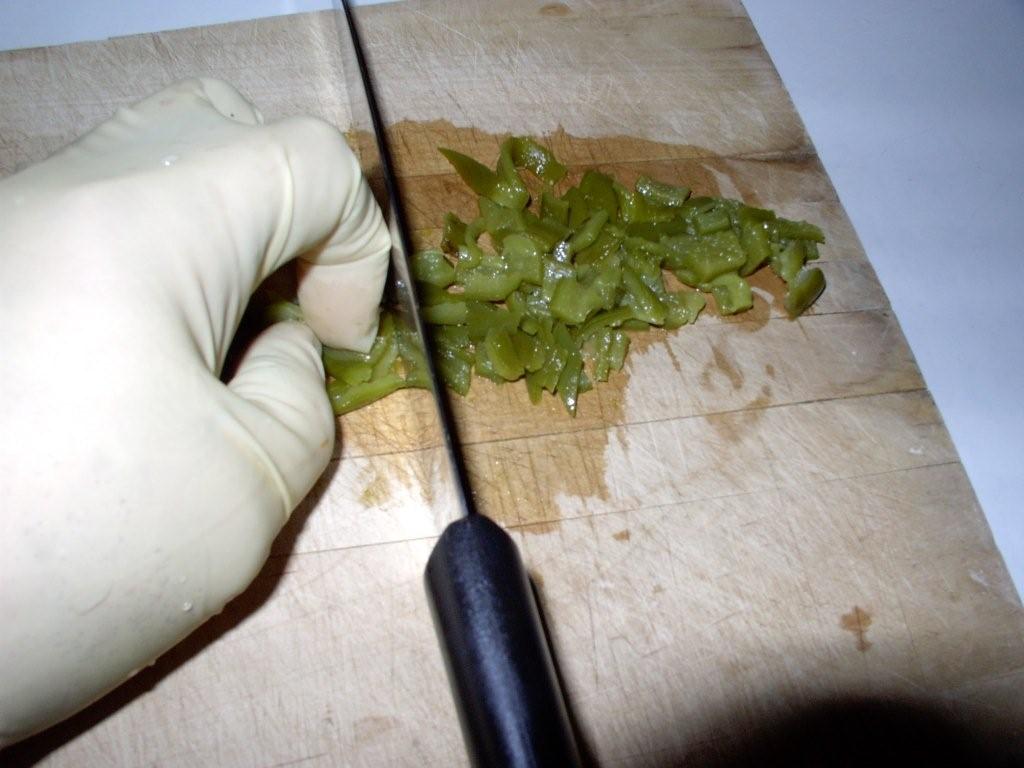
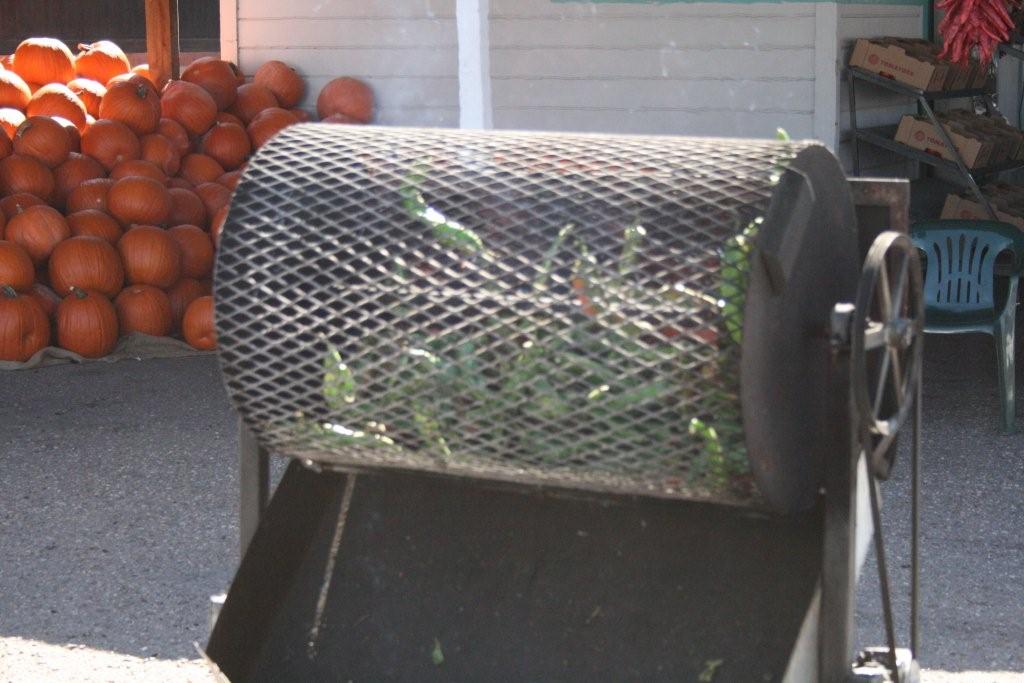
The green chile, also known as the New Mexico or Anaheim chile, is really a chile with a dual personality. When picked green (a real green chile) it is used fresh - roasted and then skinned. The whole chile is filled in rellenos, and is diced for use in countless Southwestern recipes. Left on the vine, the chile ripens and turns red. It is usually dried. This is the familiar dried red chile that is frequently sold in garlands, called ristras. Ground, it is used as a spice. Reconstituted, it is used in many recipes to give color, taste and some chile heat. The familiar red enchilada sauce is based on the red chile.

Commercial green chile providers roast their chiles in big batches. They use big screen drums that rotate over roaring gas fires. The home cook, however, can roast their own chiles but on a somewhat smaller scale. If you are only roasting 2 or 3 chiles, the gas burner on you stove is just the thing. It will roast the chile quickly and fill the house with a wonderful aroma. If you are going to roast a lot of chiles, the broiler or the barbecue grill will do the job nicely.

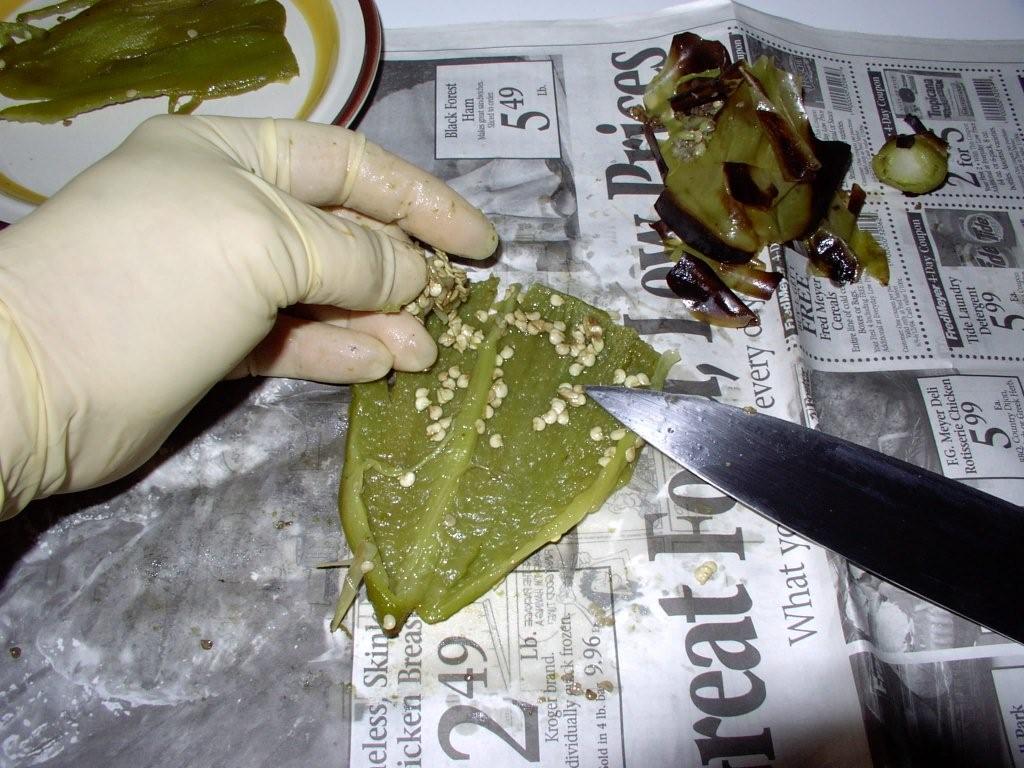
Preparation Time : 1 hour

4 diced chiles are about equal to a 4-ounce can

Life Experience Recipe
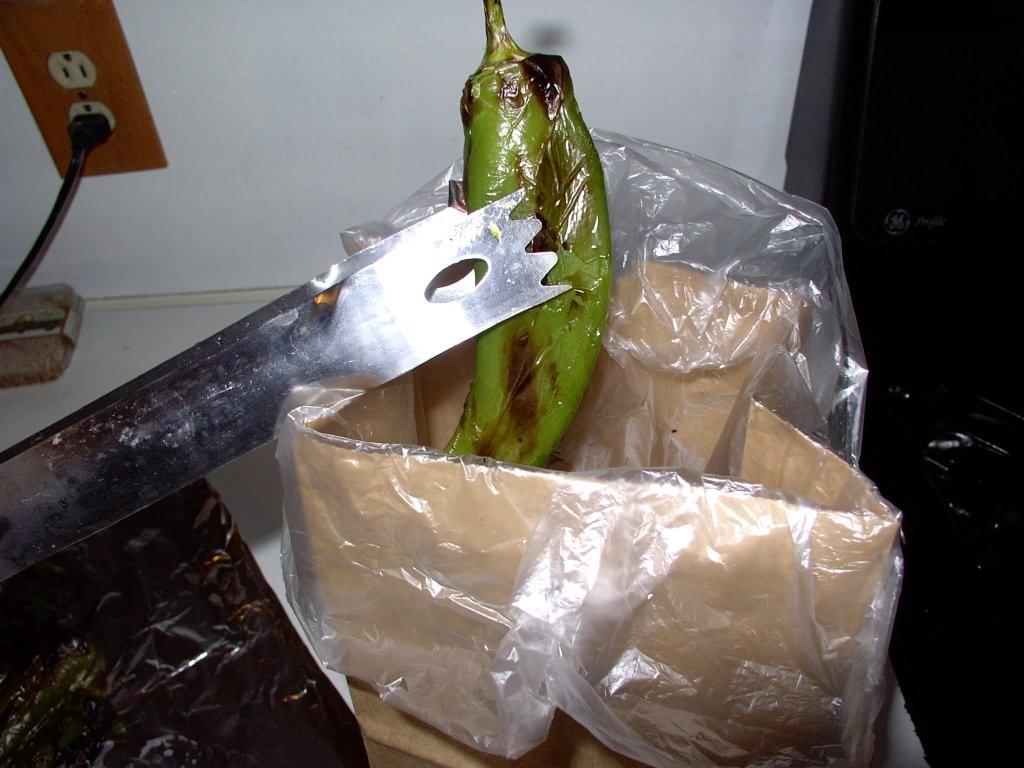
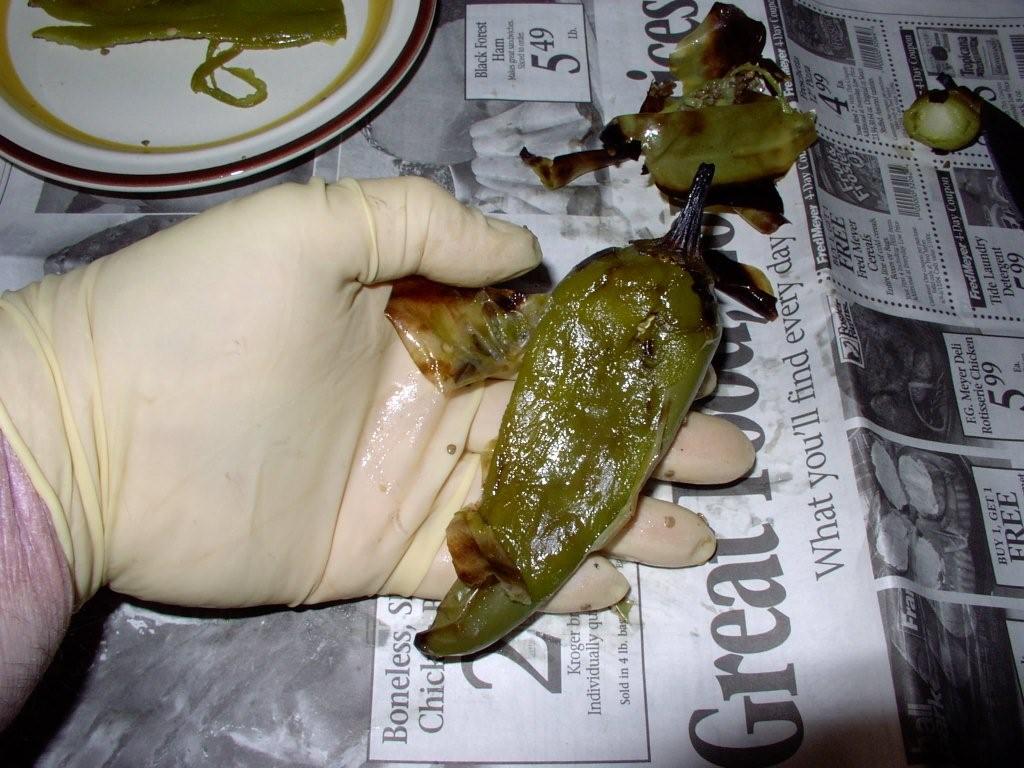
Procedures:
  1. Most of us have to get our green chiles from the supermarket. Select firm, dark green chiles that seem heavy for their size. Avoid any that appear “wilted” or that have obvious blemishes or openings into the chile. Green chiles are an agricultural crop and it is always wise to wash your produce in case it has been exposed to farm chemicals and fertilizers. When handling green or any other chile that contains capsicum, it is a good idea to wear rubber gloves. And remember, don’t rub your eyes without thoroughly washing your hands with soap and water. Some people like to slit their chiles and remove the seeds before roasting. I prefer to roast first and then split and remove the seeds and membrane. After roasting, the membrane is soft and pulls away from the chile easily.
  2. For range top roasting, arrange the chiles on the grate so they are directly above the fire. Use tongs to turn the chiles so that the skin blackens evenly over the entire chile. Don’t worry. You’re not burning the chile, you are just charring the outer skin. I frequently roast just a couple of chiles and find that a small square of expanded metal works well to keep the chiles from falling through the stove-top grate.

    Click to enlarge - Stove-top roasting on an expanded metal grate. Click to enlarge - Foil-lined sheet for oven broiling to roast chiles.

  3. . If you are using the broiler for a larger batch of chiles, arrange the chiles on a foil lined cookie sheet (you are charring the skin of the chiles and they like to stick - so the foil eases clean up). Position the chiles about 4-inches below the broiler flame or electric element. Turn the chiles as need so that the chiles blacken and char evenly all around the chile. If doing on the barbecue, clean and preheat the grill. Lay the chiles on the hot grill. Use tongs to turn the chiles so they blacken and char evenly.

    Click to enlarge - Broil roasting green chiles. Click to enlarge - Roasting large batches of chiles on the barbecue grill.

  4. After the chiles have blackened, place the still hot chiles in a paper or plastic bag and close the top. The hot chile will continue to emit steam and this will help to fully loosen the skin. After the chiles have cooled enough to be handled safely, use your fingers to lift the blackened skin off of the chiles. Rinse under cold running water. Use a sharp knife to cut off the stem end of the chile. Slice lengthwise and use your fingers to remove the seeds and membrane.

    Click to enlarge - Place hot roasted chiles in bag so steam will loosen the tough, blackened skin. Click to enlarge - When cooled, slide blackened skin off chiles with gloved fingers.

  5. Rinse any skin bits and seeds and allow chile to drain in colander. The whole chile is ready to stuff. Or slice and cross cut to make diced green chiles for your recipe. Or, place the drained whole chiles on baking sheets and freeze. After freezing, if the chiles don’t pop off the cookie sheet, just warm over the stove burner and the chiles will release. Vacu-seal and store in the freezer for later use.

    Click to enlarge - Slice open chiles and remove seeds and membranes. Click to enlarge - Cut green chiles to desired size, whole for rellenos or diced for recipes.

    Click to enlarge - Keep mchiles fresh for later use by vacu-sealing and freezing.

  6. We have all used green chiles from a can, It is quick and it is convenient. So why roast your own chiles? For one thing, they taste better, they have a deeper and richer green chile flavor. And the other is the experience. You actually roast your own chiles. You are recreating a daily ritul that is thousands of years old. The house fills with the smell of roasting chiles. You take deep breaths to take in the wonderful aroma that is making your mouth water, making you hungry and that is a good thing.

Return to Cookbook Contents Page
Latest revision done September 2014
Counter courtesy of WebCounter

Hosted by aplus.net