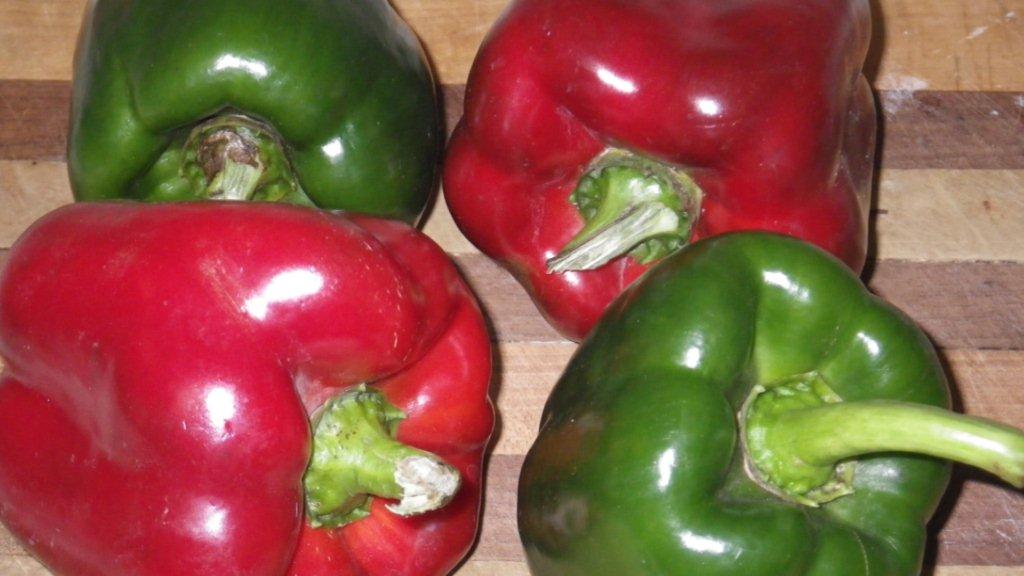
Procedure
- Roasting peppers: these techniques can be used with just about any thick walled pepper, hot or sweet. The roasting intensifies the flavor of the pepper and as a side benefit it results in the removal of the thick, hard skin that many people find objectionable or cannot digest. Peppers can be roasted, one or two at a time, over the gas burner of your stove top. They can be roasted on a cookie sheet under your gas or electric broiler. I have used all these methods but the way I find easiest is to roast the peppers on my barbecue grill.

- Select ripe (but not overly ripe or soft) firm fruit free of blemishes. Wash under running water to rid the fruit of any field residue of pesticides or fertilizers, and any store stickers. Wipe dry with paper or dish towels. Drizzle with a bit of vegetable oil and rub gently to coat all the pepper skin. The oil is for better heat transfer and to prevent sticking to the grill. Some people use olive oil but I reserve the olive oil until after the peppers are rid of their charred skin.
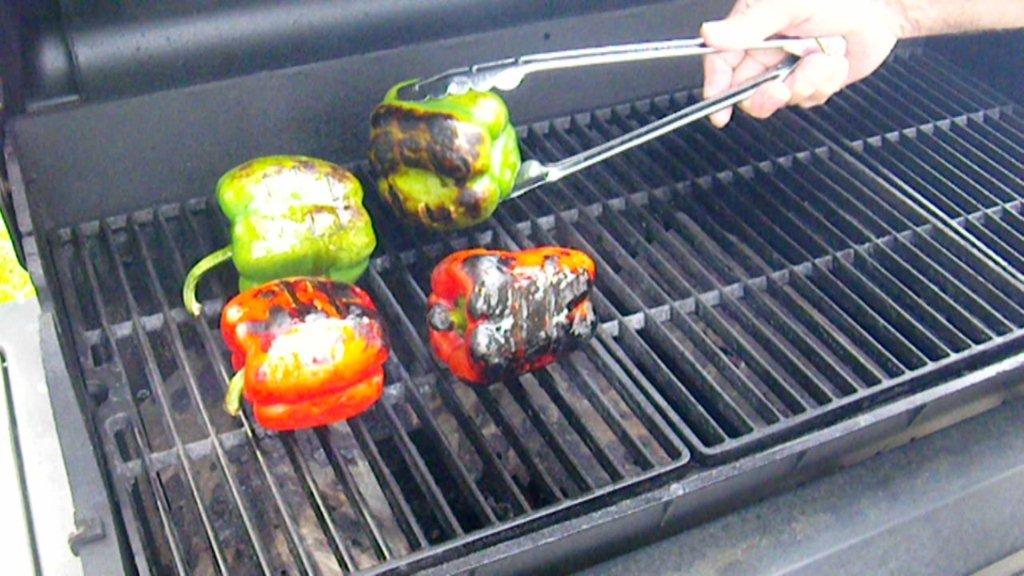
- Preheat the grill. Place the peppers on the grill. Check and turn every four to five minutes until the skin is uniformly charred all around. Grills have hot spots. At each check move the peppers so the skins char evenly. As a rule, green and red Bells cook in about the same time but the green skins will not turn as black as the red peppers.

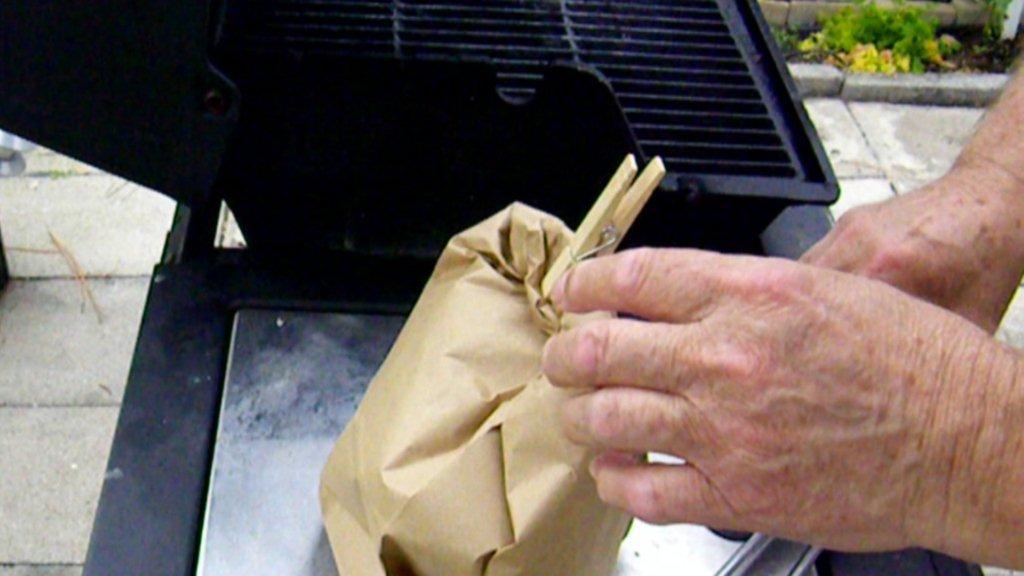
- After roasting, the peppers need to rest, steam and condense, to finish lifting the skin from the flesh. A bowl with a cover works nicely. As well, a bag, either plastic or paper will also do. My preferred method is to use a plastic bag inside a paper bag. The plastic provides a moisture proof layer while the outer paper layer provides a bit of insulation to prolong the steaming and condensing period. Place the peppers in the bag, fold and seal the bag. Allow the peppers to sit until cooled to a safe handling temperature, about 30 minutes.
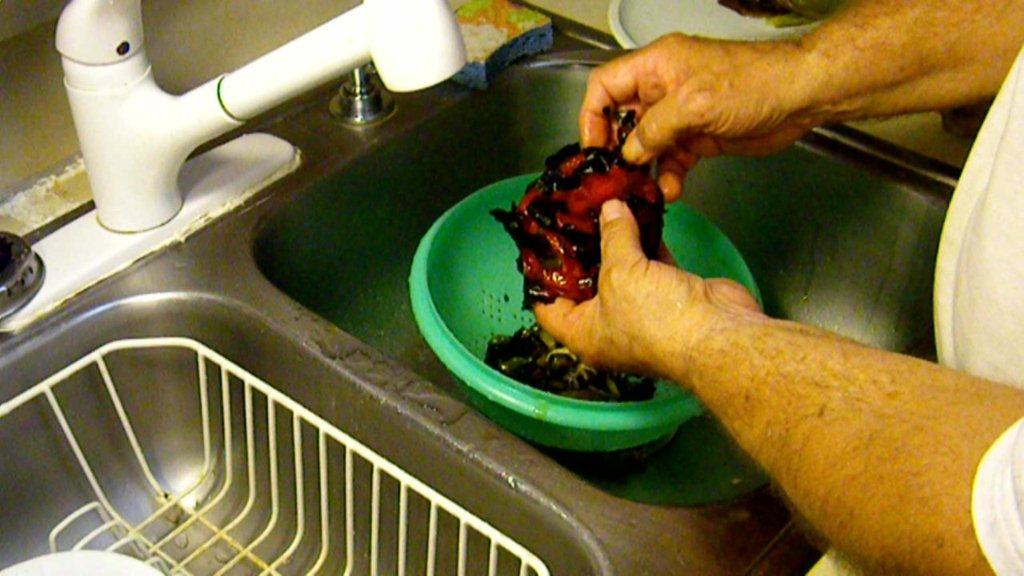
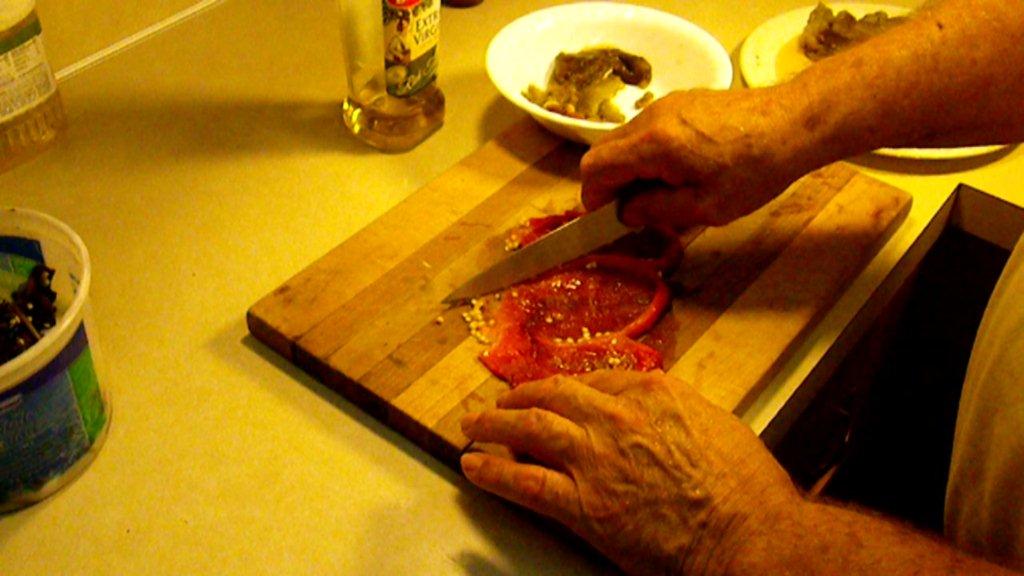
- Most of the skin will easily come off when you rub the peppers. For stubborn spots, a gentle scrape under running water usually works. Use water to a minimum to avoid washing away the peppers flavorful juices. Use a sharp knife to open the peppers and gently scrape away the seeds and membrane. Place the cleaned peppers in a bowl. Drizzle with a little olive oil, toss to coat.
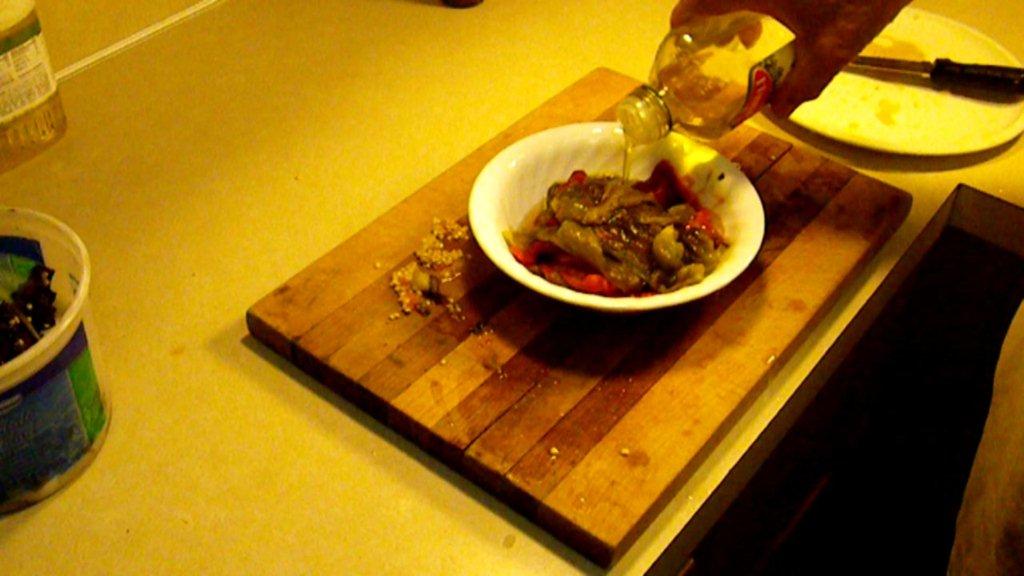

- For short term storage place the peppers in a covered container and store in the refrigerator. For longer term storage, place the peppers in a single layer on a cookie sheet and freeze. Once the peppers are frozen, pop them loose from the cookie sheet and store in freezer bag or VacuSeal. Remove peppers as needed. They thaw enough to slice in about fifteen minutes.
|
